
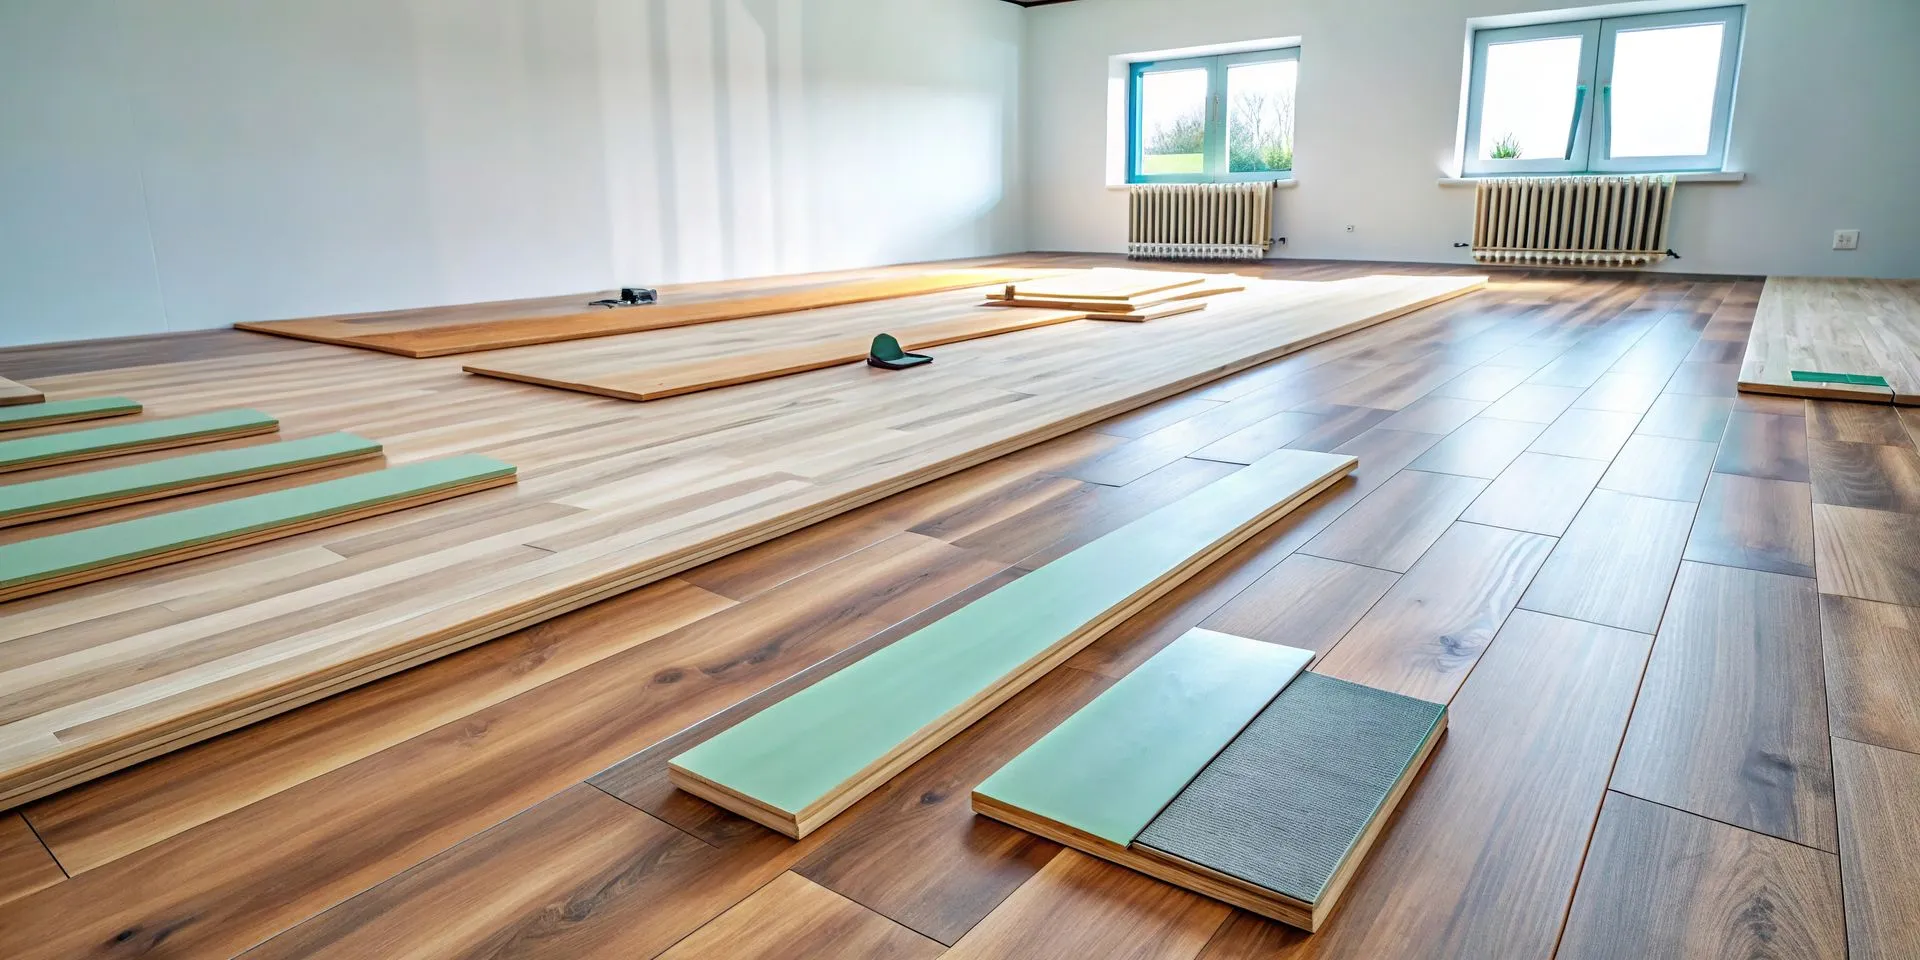
Laminate flooring is a popular flooring option for homeowners who want the appearance of natural wood with a practical and relatively easy-to-maintain surface. It is available in many styles and finishes and can be used in different areas of the home when the appropriate product and installation method are selected. However, installing laminate flooring requires careful preparation, accurate measurements, proper plank alignment, and attention to expansion gaps because installation mistakes can lead to uneven rows, visible gaps, damaged locking edges, or flooring movement. At Murph Brothers, our goal is to help homeowners complete flooring projects with proper preparation and quality workmanship. We provide laminate flooring installation services for homeowners looking for attractive, functional, and professionally installed flooring solutions.
Why Can Laminate Flooring Installation Be Difficult?
The main reason laminate flooring installation can be difficult is improper preparation or inaccurate plank placement. Even small mistakes can affect the appearance and performance of the finished floor.
Several factors can make installation more challenging, including:
- Uneven or damaged subfloors
- Incorrect room measurements
- Poorly planned plank layout
- Insufficient expansion gaps
- Improper underlayment installation
- Difficult doorways and corners
- Incorrect plank cuts
- Poorly staggered seams
- Moisture underneath the flooring
- Improper installation tools
Before installation, the flooring should be allowed to adjust to the room according to the manufacturer’s instructions. Some manufacturers recommend at least 48 hours of acclimation, while exact requirements can vary by product. The subfloor should also be clean, dry, firm, and properly prepared before the laminate is installed.
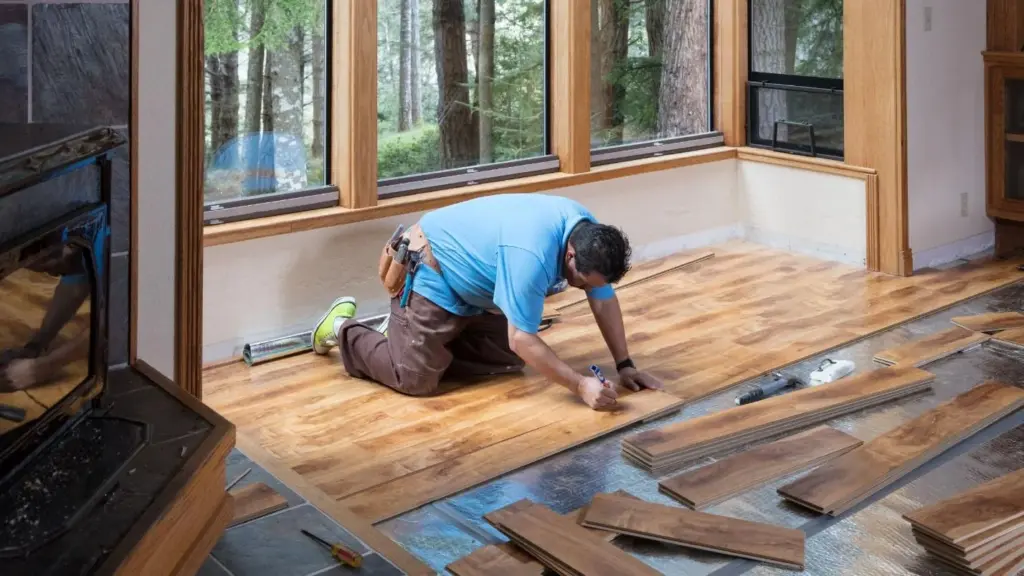
Essential Tools for Installing Laminate Flooring
- Measuring tape
- Pencil
- Level
- Utility knife
- Jigsaw
- Circular saw or flooring cutter
- Tapping block
- Pull bar
- Rubber mallet
- Floor spacers
- Straightedge
- Safety glasses
- Work gloves
- Knee pads
- Laminate flooring
- Underlayment when required
- Floor moulding and trim
Having the correct tools and materials ready before starting can make the installation process easier and help reduce cutting, alignment, and fitting mistakes. Safety glasses and appropriate protective equipment should also be used when cutting laminate planks or operating power tools.
Preparing the Room for Laminate Flooring
Before installing laminate flooring, remove furniture, rugs, baseboards, and other items that may interfere with the installation. If existing flooring needs to be removed, clean the area thoroughly after taking it out.
The subfloor should be clean, smooth, dry, and sufficiently level for the flooring product being installed. Damaged wood sections, protruding nails, cracks, or uneven areas should be addressed before installation. If the flooring is being installed over concrete or another surface where moisture may be a concern, follow the manufacturer’s moisture-testing and vapor-barrier requirements.
Acclimating Laminate Flooring Before Installation
Laminate planks can respond to changes in temperature and humidity, so allowing the flooring to adjust to the installation environment can be an important preparation step. Manufacturer requirements can vary, but some laminate manufacturers recommend leaving the unopened flooring in the room for at least 48 hours before installation.
Keep the flooring according to the manufacturer’s instructions during this period and avoid starting the installation until the recommended acclimation time has been completed.
Measuring the Room for Laminate Flooring
Accurate measurements are important when determining how much laminate flooring is needed. Measure the length and width of each area and calculate the total square footage. Irregular rooms, closets, hallways, and other connected spaces should also be included in the project measurements.
It is generally recommended to purchase additional flooring to account for cutting, fitting, and possible installation mistakes. Lowe’s currently recommends purchasing at least 10% more flooring than the calculated area for waste and mistakes, although the exact amount can vary depending on the room layout and product.
How to Install Laminate Flooring
Acclimate and Prepare the Room
- Acclimate the material: Leave unopened boxes of laminate flooring in the installation room for 24 to 48 hours so the material adjusts to the home’s temperature and humidity.
- Clear and clean: Remove old flooring, baseboards (optional), and tack strips, then thoroughly sweep and vacuum the subfloor.
- Check for level: Ensure the subfloor is flat within 1/8 inch over a 10-foot span; grind high spots or fill dips with a leveling compound.
- Undercut door jambs: Use a hand saw or multi-tool with a flooring scrap as a height guide to trim door casings so planks slide underneath cleanly.
2. Lay the Underlayment
- Roll it out: Roll out the underlayment (with a built-in vapor barrier if laying over concrete) perpendicular to the direction your planks will run.
- Tape seams: Butt the edges together without overlapping them and secure the joints using seaming tape as recommended by the manufacturer.
3. Plan and Start the First Row
- Determine direction: Run the planks parallel to the longest wall or facing the main light source for the best visual effect.
- Set expansion spacers: Place 1/4-inch to 3/8-inch spacers along the starting wall and side corners to maintain a mandatory expansion gap for seasonal shifting.
- Position the first plank: Start in the left-hand corner with the tongue side facing the wall (trim off the tongue on the wall-facing sides if required by your product instructions).
- Lock the first row: Click the end joints together from left to right until the entire first row is straight and locked against the spacers
4. Click and Stagger Subsequent Rows
- Stagger end seams: Start the second row with a cut-off piece (at least 6 to 12 inches long) to ensure end joints are staggered by at least 8 to 12 inches between rows.
- Click-lock planks: Angle the new plank’s long edge into the previous row’s groove, lower it flat, and press or gently tap it into place.
- Use a tapping block and pull bar: Use a rubber mallet with a tapping block on long edges and a pull bar to lock the final pieces in tight without damaging the edges.
- Cut around obstacles: Use a jigsaw to notch holes or cuts for vents and pipes, always leaving room for the expansion gap
5. Install the Final Row and Trim
- Rip the last row: Measure the remaining width needed (minus the expansion gap) and rip the final boards lengthwise using a table saw or circular saw. Use a pull bar to snug them into place.
- Remove spacers: Take out all perimeter spacers from along the walls and doorways.
- Attach moldings: Install baseboards, quarter-round, or scotia trim by nailing them directly into the walls or baseboards—never through the new laminate floor, which needs freedom to float. Add transition thresholds at doorways.
Floating Laminate Flooring Installation
Most modern laminate flooring is installed as a floating floor. This means the planks are connected to each other but are not normally glued, nailed, or stapled to the subfloor unless the manufacturer specifically requires another installation method.
Click-Lock Installation
Click-lock laminate planks connect through a specially designed locking system. Each plank is positioned and connected to the previous plank according to the manufacturer’s instructions.
This installation method can make laminate flooring relatively straightforward to install when the subfloor is properly prepared and the correct technique is followed.
Expansion Space
Because floating laminate flooring can expand and contract, the required space should be maintained around walls and other fixed objects. Covering the expansion gap with appropriate trim can provide a finished appearance while still allowing the floor to move as designed.
Average Laminate Flooring Installation Cost
| Project Size | Square Footage | Average Cost Range |
| 6 × 6 ft. | 36 sq. ft. | $115–$475 |
| 8 × 10 ft. | 80 sq. ft. | $245–$1,050 |
| 10 × 10 ft. | 100 sq. ft. | $305–$1,310 |
| 8 × 15 ft. | 120 sq. ft. | $365–$1,570 |
| 12 × 12 ft. | 144 sq. ft. | $435–$1,880 |
| 12 × 18 ft. | 216 sq. ft. | $655–$2,820 |
| 16 × 20 ft. | 320 sq. ft. | $965–$4,170 |
| 16 × 24 ft. | 384 sq. ft. | $1,160–$5,000 |
Common Mistakes to Avoid When Installing Laminate Flooring
Avoiding common installation mistakes can help the finished flooring look better and perform properly.
- Installing over an unsuitable subfloor
- Failing to clean the installation surface
- Skipping required acclimation
- Measuring the room incorrectly
- Forgetting the expansion gap
- Installing the wrong underlayment
- Creating narrow final rows
- Failing to stagger the seams
- Damaging the locking edges
- Using excessive force when connecting planks
- Cutting around obstacles incorrectly
- Fastening a floating floor to the subfloor
- Failing to follow manufacturer instructions
Careful preparation and following the specific flooring manufacturer’s requirements can help prevent many of these problems.
Installing Laminate Flooring Around Doorways
Doorways often require additional preparation and accurate cutting. The door casing may need to be undercut so the laminate can fit underneath rather than being cut around the entire shape of the frame.
Measure the height of the flooring and underlayment together before making the cut. Once installed, the plank should still have the required expansion space even though the gap may be hidden beneath the casing or trim.
How to Maintain Laminate Flooring After Installation
Proper maintenance can help keep laminate flooring looking attractive and functioning well after installation.
Regularly remove dust and dirt with a suitable vacuum, soft broom, or dry microfiber mop. Clean spills promptly and avoid excessive moisture unless the specific flooring product is designed for greater water resistance.
Use furniture pads under heavy furniture and avoid dragging heavy objects directly across the floor. Follow the flooring manufacturer’s cleaning and maintenance instructions to help protect the surface.
Why Professional Laminate Flooring Installation Matters
Installing laminate flooring requires more than simply clicking the planks together. Professionals understand how to prepare the subfloor, check measurements, install the proper underlayment, plan the layout, stagger the seams, and leave the required expansion space. Proper installation can help prevent uneven planks, visible gaps, movement, damaged flooring, and problems caused by poor subfloor preparation.
At Murph Brothers, we focus on careful installation and proper fitting from start to finish. We provide professional laminate flooring installation in Senoia, GA to help homeowners achieve a clean, durable, and attractive floor based on their room layout and flooring requirements.
Professional installation can be especially helpful for large rooms, multiple areas, uneven subfloors, or installations requiring detailed cuts around doorways and other obstacles. Experienced installers can complete the process carefully while making sure the flooring is properly aligned, securely connected, and ready for everyday use.
Final Thoughts
Installing laminate flooring can be a manageable home improvement project when the room is properly prepared and the flooring manufacturer’s instructions are followed. Taking time to acclimate the flooring, inspect the subfloor, install the correct underlayment, plan the layout, maintain expansion gaps, stagger the seams, and make accurate cuts can help create a clean and stable finished floor.
Whether you choose DIY installation or professional help, proper preparation and careful installation are important for achieving an attractive appearance, smooth transitions, reliable performance, and long-lasting results.
FAQs
How Much Does Laminate Flooring Installation Cost?
Laminate flooring installation costs an average of $2,998, with most homeowners paying between $1,472 and $4,656 in 2026. The final cost depends on room size, laminate type, and subfloor condition.
How Long Does It Take to Install Laminate Flooring?
A laminate flooring installation project typically takes 1–3 days, depending on the room size, subfloor condition, and preparation required.
Does laminate flooring need underlayment?
If the planks do not have attached underlayment, the appropriate underlayment should be installed according to the manufacturer’s instructions.
How long should laminate flooring acclimate before installation?
Many manufacturers recommend about 48 hours, but always follow the flooring product’s specific instructions.
Can laminate flooring be installed over concrete?
Yes, when the concrete is properly prepared, clean, dry, and suitable for the flooring system, with required moisture protection where applicable.